Using the scratch image editor
Image Editing (Costumes)
The built-in image editor in Scratch is very useful for creating quick animated characters. In the previous game we were able to easily animate the sprites because they already had multiple costumes. But you can create/modify a single costume sprite into multiple costumes making it a candidate for animation.
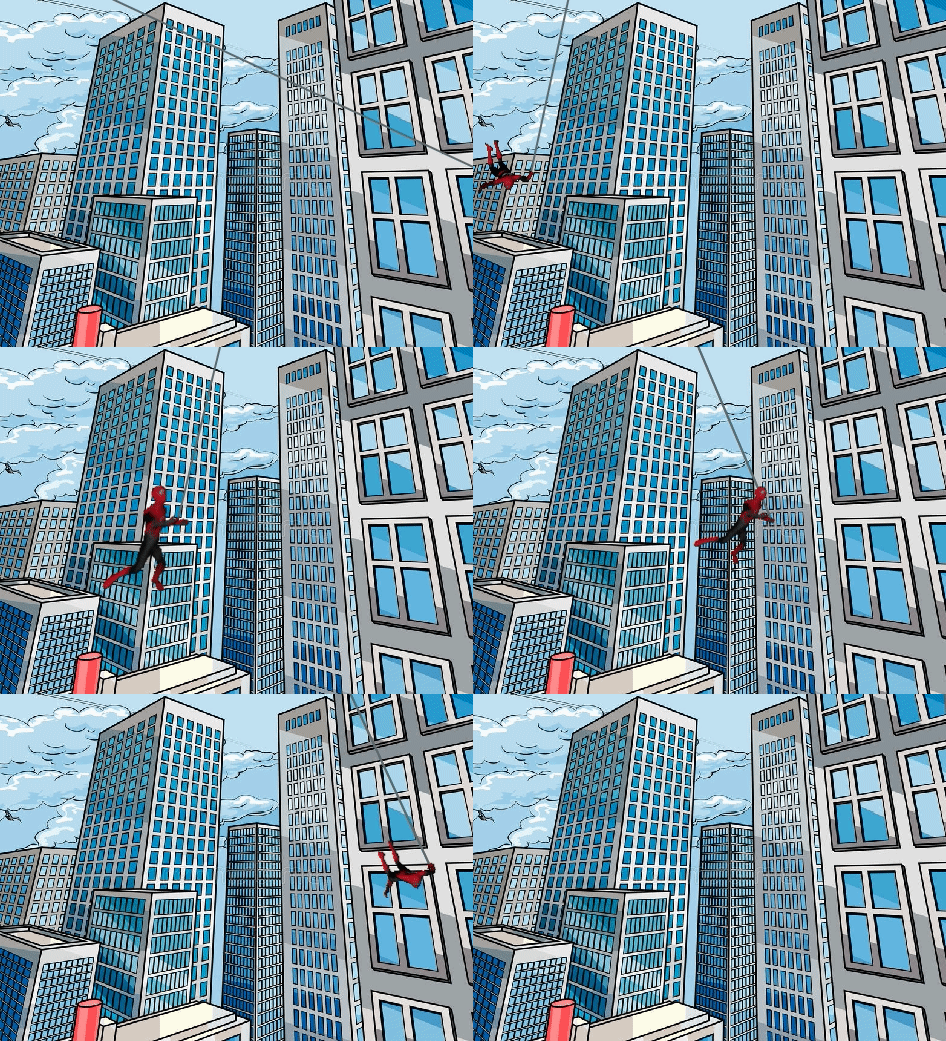
Here are a few different methods.
- Use images in Scratch library that have multiple costumes already.
- Get a transparent, .png, image from scratch and use the Scratch editor to create a vector image (see tutorial). Then make multiple costumes with it.
- Create your own sprite in the costume editor. Use shapes/pen to create it from scratch. This is a little more work but can be a lot of fun.
Create Animated Sprite
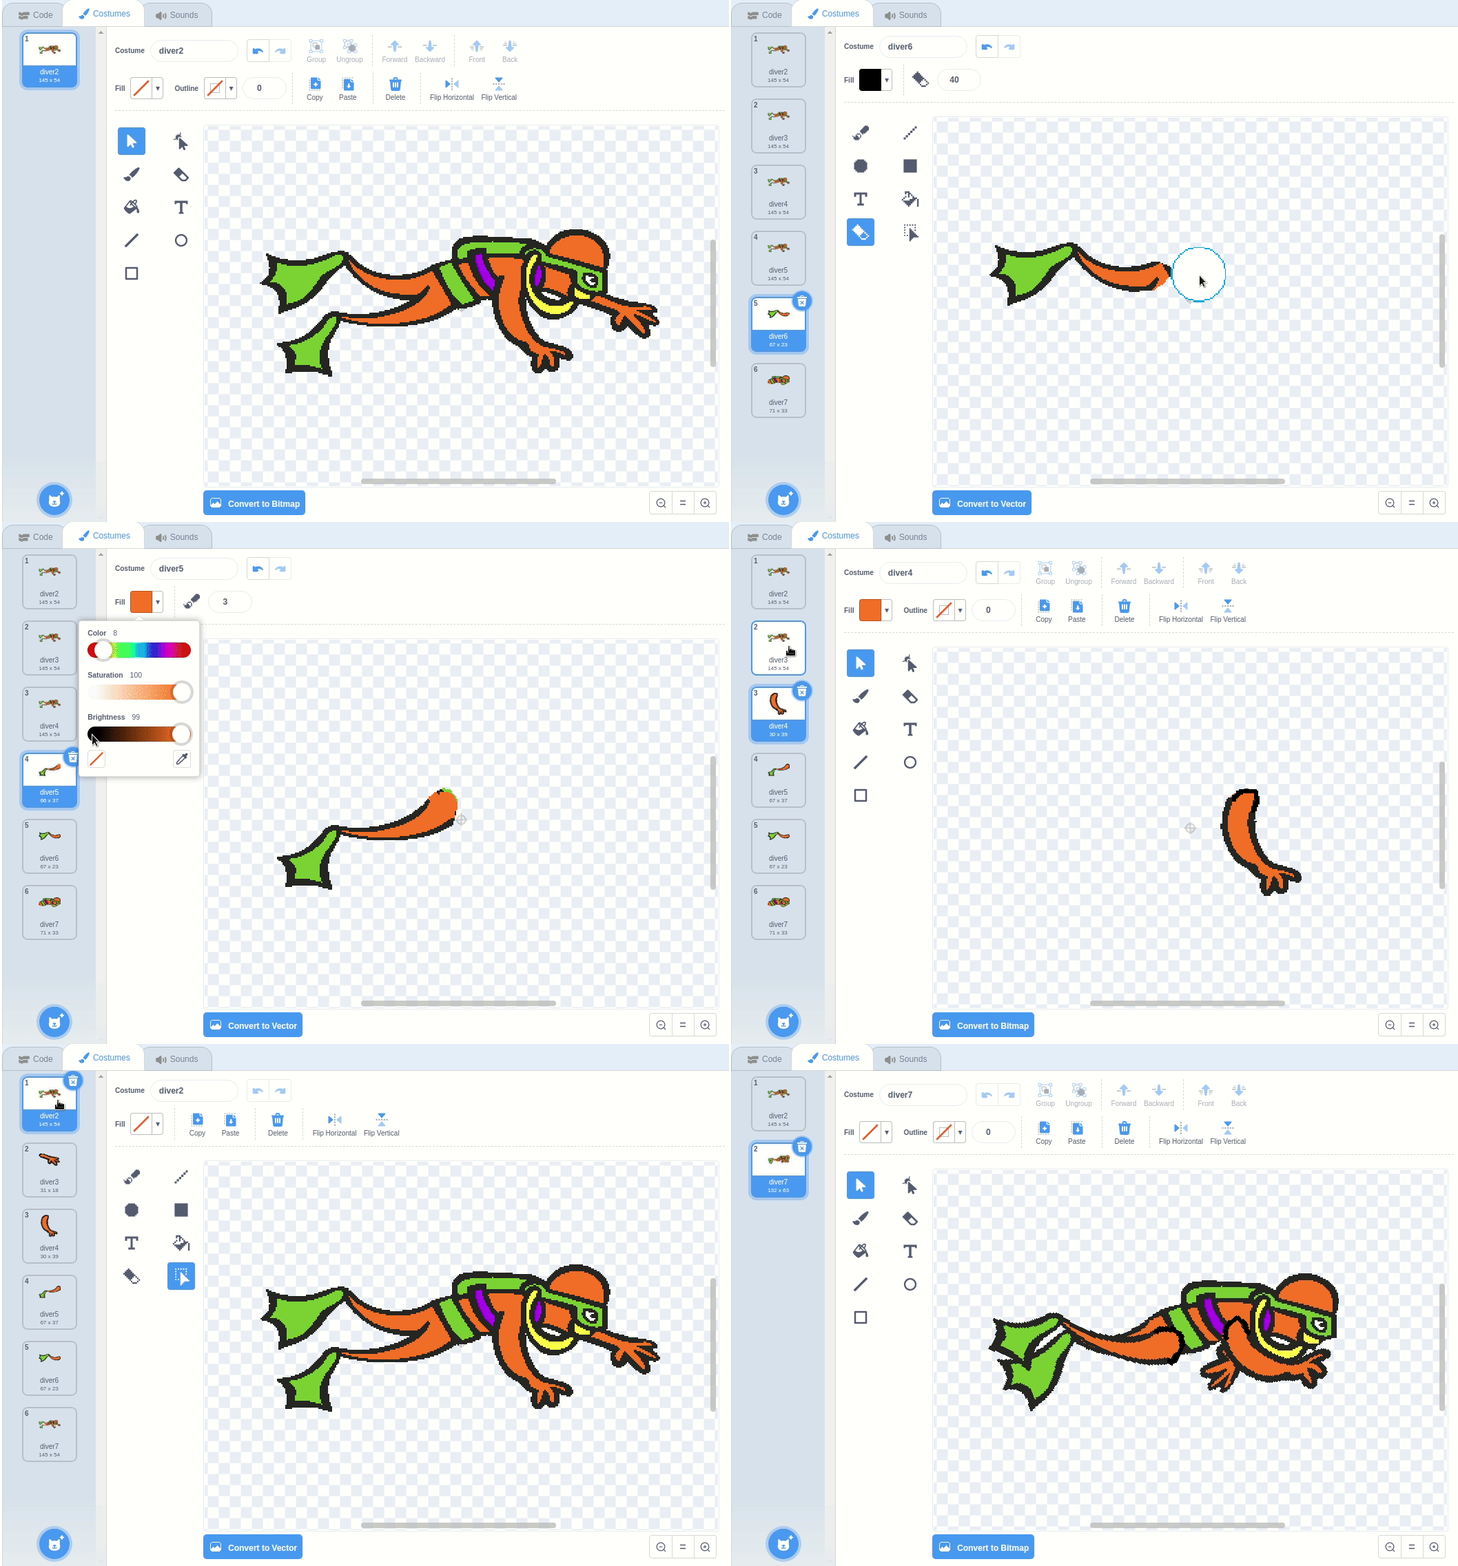
Using Scratch Image Editor The Scratch editor has good features for making quick animations. For example you can take the swimmer image in Scratch and make him look animated. Convert the swimmer image to a bitmap and duplicate, use the eraser to break each costume into a separate parts. Convert the parts to vectors and re-assemble (copy/paste) into one master vector image. Duplicate the master vector, adjusting each costume to make it appear like he’s swimming.
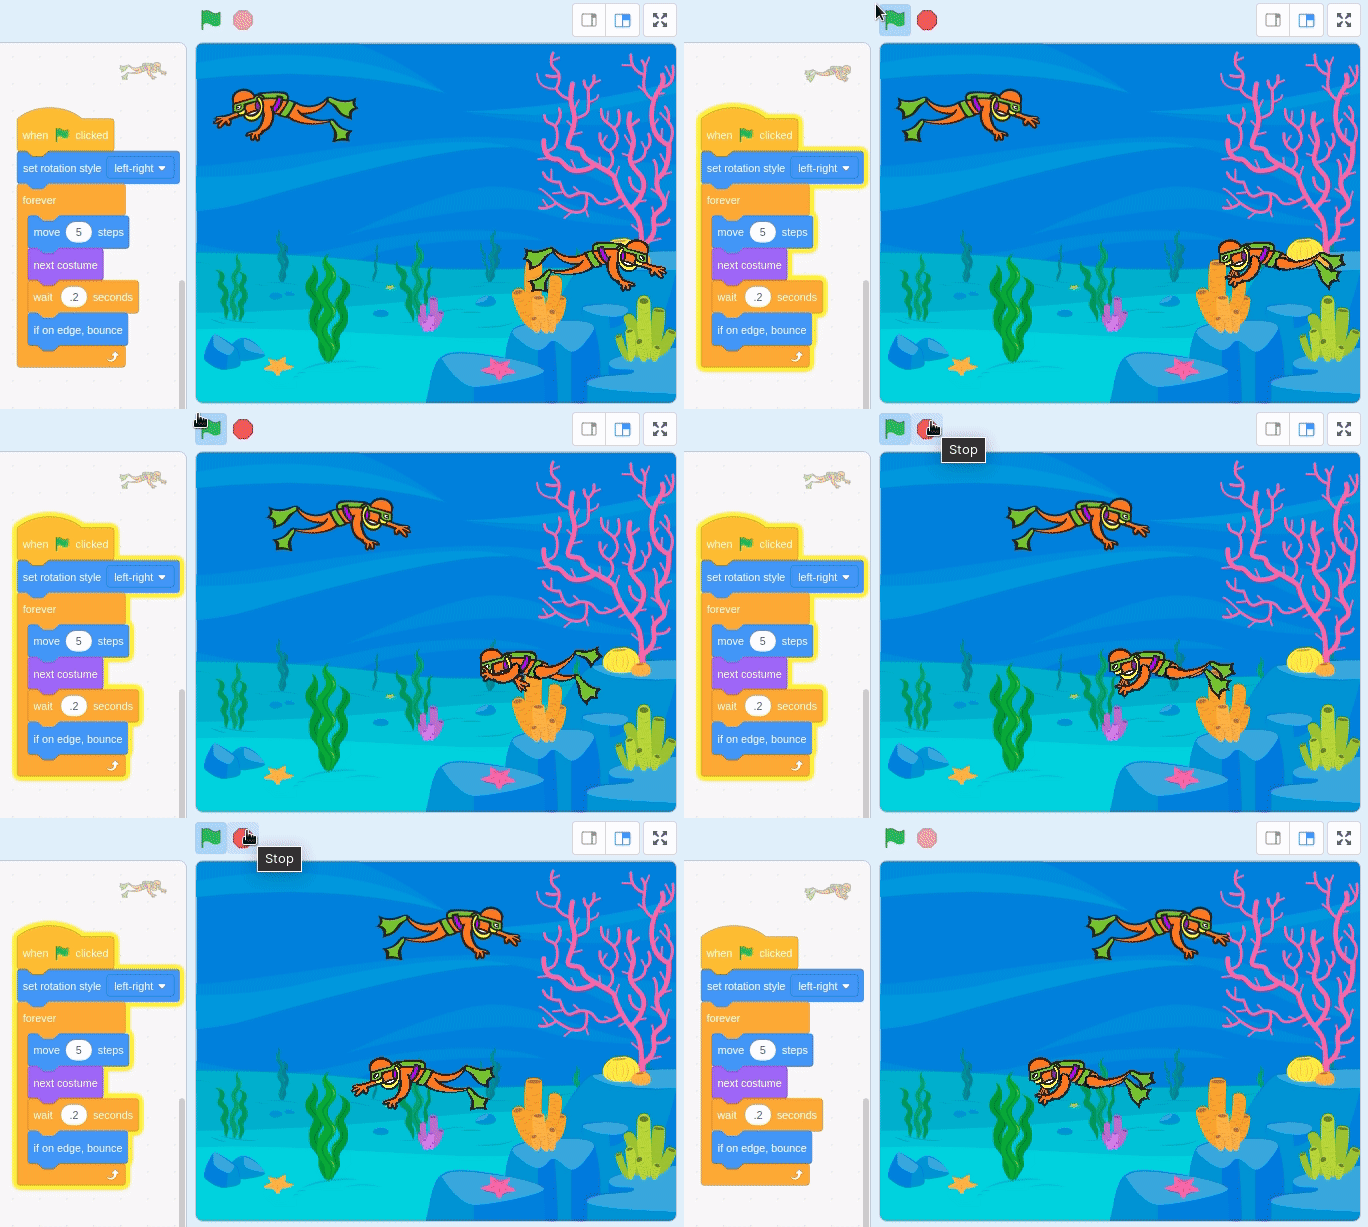
Detailed Steps
The process in a few more details
- Import image as transparent (or make it transparent using eraser in Scratch)
- Convert to Bitmap and duplicate the image for as many parts you want control of. (ie for a body with 4 limbs and torso you’ll want 5 costumes)
- Bitmap mode - use erase and delete everything but the part you want to control (ie. arm, leg, torso). Touch up with the paint brush.
- You should end up with an image for each part you want to animate.
- Now you will re-assemble the separate images into one master vector image.
- Convert each image to a Vector. Use the select key to make sure the boundary box is a tight fit around your image. If the blue boundary box is much bigger than your image it means there’s a small piece of image out there you need to remove with the eraser (may be so small you can’t see it).
- Then copy the part (ctrl-c) and paste it (ctrl-v) on one master vector image.
- When you have the parts re-assembled you can delete the working costumes.
- Now with your master vector image you can duplicate it and in each costume adjust the parts to create animated frames.
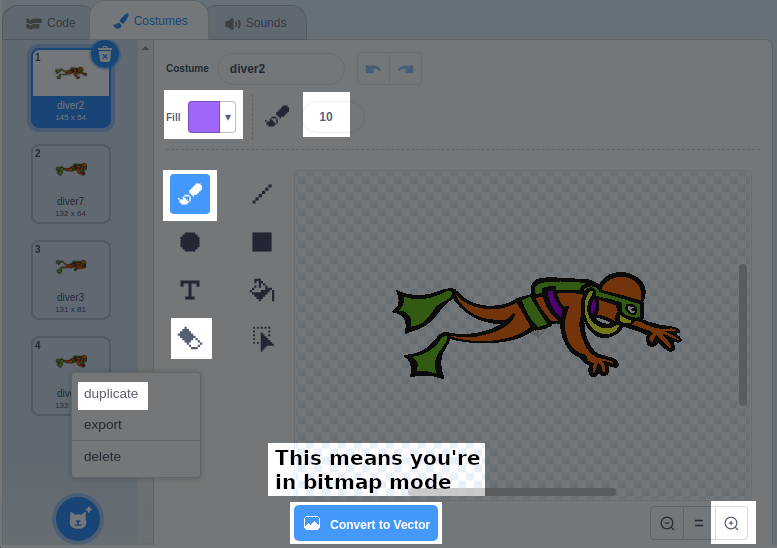
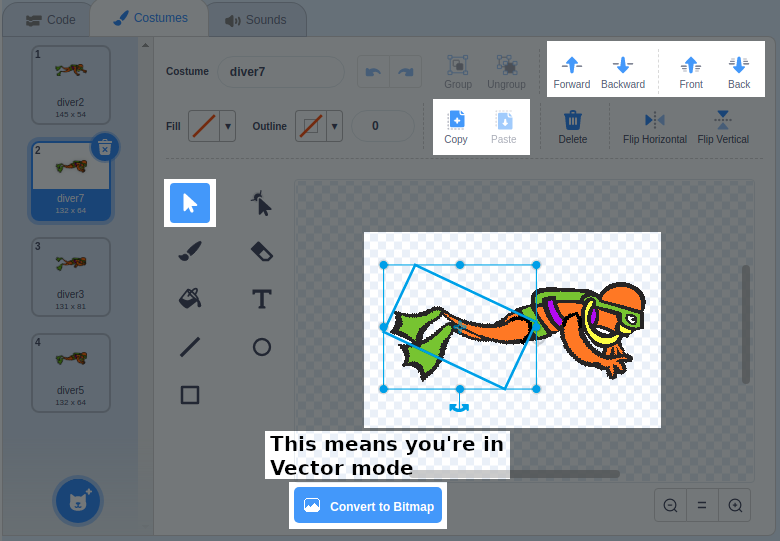
Example (bitmap and vector)
Recap
You can use the Scratch image editor to create animated sprites.
- Import a transparent image (or make it transparent in Scratch using eraser)
- Convert to bitmap and duplicate, use the eraser to break each costume into parts
- Convert the parts to vectors and re-assemble (copy/paste) into one master vector image.
- Duplicate the master vector, adjusting each costume to make it appear animated.