Intro to Coding
Scratch and Python
There are a couple different mindsets with respect to the best method for kids to learn coding (elementary or age 8-12 area). Two choices I’ll mention are Scratch (drag-n-drop blocks) vs Python (typed code). Personally I would start with Scratch and focus on coding concepts. Then quickly move on to a typed language like Python that is commonly used in all types of industries.
Example of building the same program in Scratch and Python3.
Scratch

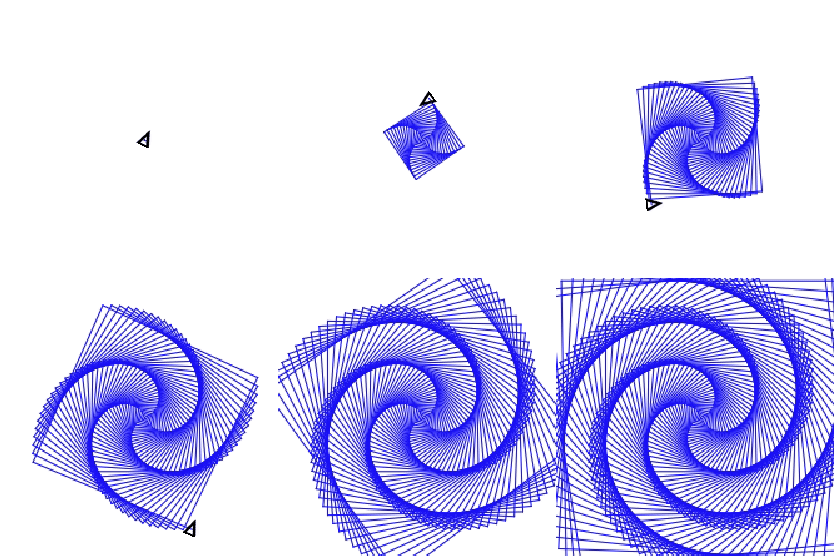
Python
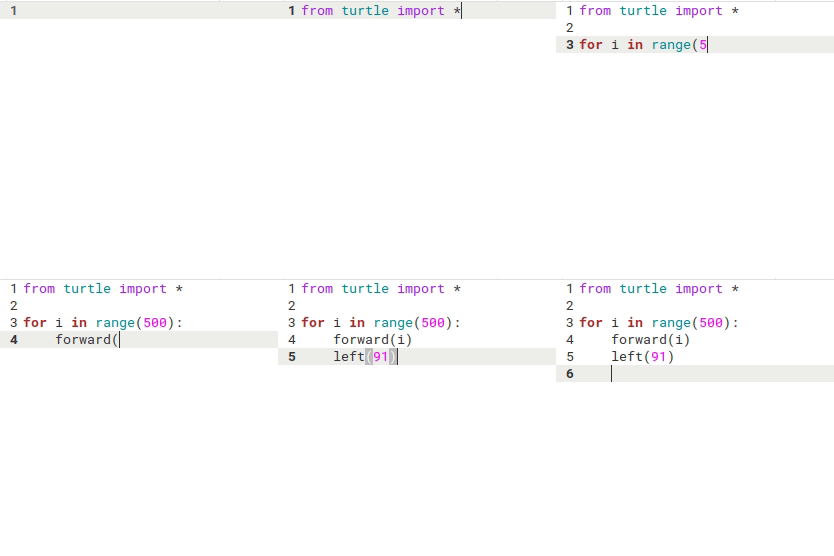

Scratch
If you’re not ready for Python go ahead and give Scratch a try. Have fun with it but focus on the concepts and make sure you understand the tools below.
- Image editing (bitmap vs vector, gif’s, transparency)
- Coordinates (X/Y)
- Loops (and nested loops)
- If, Then conditions
- Commenting and de-bugging
- Comparison operators and AND/OR logic
- Variables/Booleans (Global and Local)
- Functions (passing input)
- Broadcast and “When this happens/Do this” blocks (event driven concepts)
- Lists (arrays)
Raspberry Pis have an offline version of Scratch already installed or you can go to the web site scratch. Create an account and get started with the next sections under Scratch Tutorials
Scratch Example
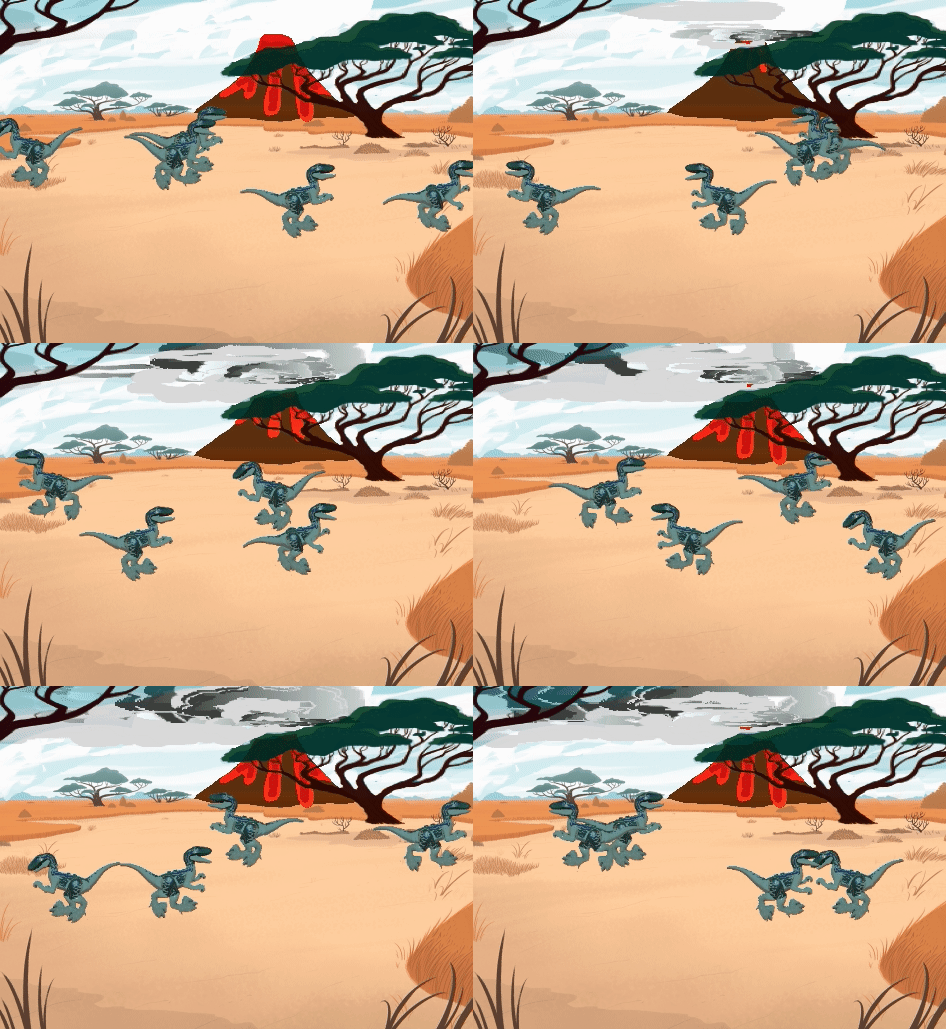
Have fun with scratch while learning and utilizing good coding practices. Use functions and comments to keep your code organized and you’ll be able to create animated scenes like the one below. Scratch Tutorials
Python
Once you understand basic coding concepts from Scratch you can move on to a text-based language like Python. Python is a typed-programming language that it is very “readable”; meaning the syntax is similar to how you would write something. For example print(“hello”) will output “hello” to your screen.
There are countless tutorials for learning Python in various formats (written, video, on-line classes, in-person classes). I’m not going to try and duplicate what they’ve already done so the best option is to hit the Google Search and try some out. At this point you can’t go wrong. You can dive into Python via gaming, web development, circuits, minecraft, or just focus on Python itself.
Python comes pre-installed on Raspberry Pi/Linux systems. Or you can install on a PC, too.
If you do not have a Raspberry Pi and do not want to install Python on your PC you can check out a web browser version with trinket.io There are tutorials there for building with trinket.io. Another option is the official Python.org web site that has a web console
Basic Python
Python with Game Emphasis (Pygame and Minecraft)
- KidsCanCode youtube videos
Python with STEM Emphasis
- RaspberryPi.org website is great for Scratch, Python, and circuits/web projects.
- I will also include help for circuit specific methods in the Circuit projects
For your first “Hello World” program it is good to use a simple text editor in a terminal. And then execute the file at the terminal prompt. But you’ll quickly want to move on to an IDE (Integrated Development Environment) where you can run your program from inside the IDE and also do debugging. Here’s some options.
- Thonny, geany and mu-editor are great Python IDEs and available on Raspberry Pi. Thonny and geany are pre-installed. Install mu-editor under “Raspberry Pi Recommended Software” in the Start menu.
- VScode - Later you may want to move on to an even more powerful IDE like the popular VScode (easily installed on Raspberry Pis now). VScode has a lot of nice options (extensions) for debugging, integration with git, auto-complete, etc.
- Jupyter Notebook is a unique editor that lets you execute small chunks of code individually while embedding detailed comments and graphs through-out. Great for data science.
Coding with Python and Minecraft on RPi (MCPi)
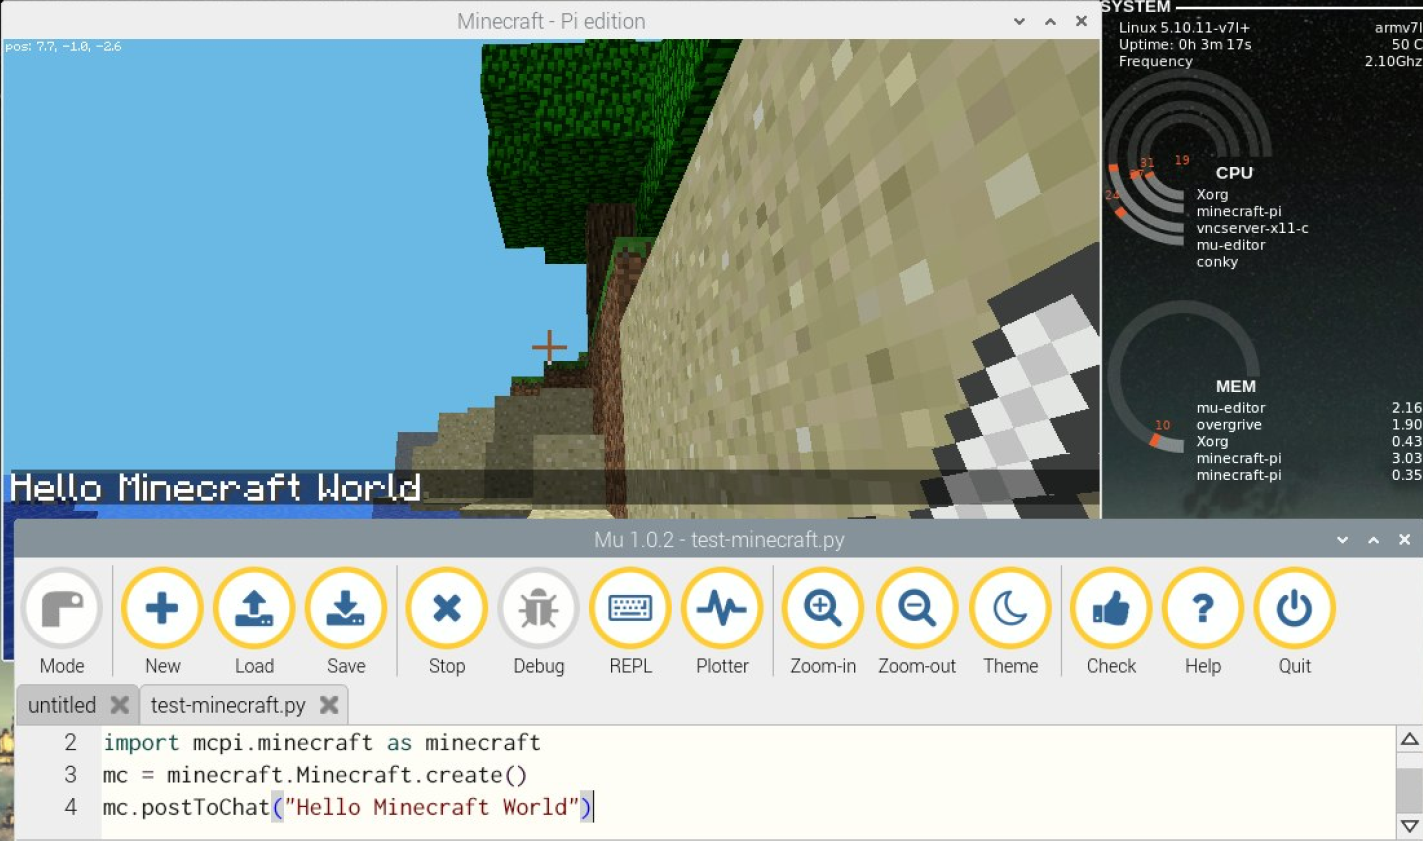
Raspberry Pi comes with Python and a Pi edition of Minecraft (Mojang MCPi) installed. You can quickly write Python code that builds and interacts with the Minecraft world (note the Pi edition of Minecraft is a stripped down version of Minecraft. It does not receive updates or being developed further. It only runs creative mode, does not have mobs).
If you’re feeling adventurous there are newer Minecraft Pi editions, MCPi-Revival, with more options. But you’ll need to be comfortable with the command line.
RaspberryPi.org has good tutorials for getting started with original RPi Minecraft.
- Getting-started-with-minecraft-pi
- Adventures-in-Minecraft has books, videos, tutorials, code
- Adventures-in-Minecraft github
- Blog with Pi-Minecraft stuff
Coding with Pygame Zero
Other game-oriented, graphical options are Pygame Zero and Pygame. These both have Python modules geared toward graphical games. Pygame Zero is beginner friendly and will help transition from Scratch to Python. Then you can move on to the more advanced Pygame which has more options and documentation.
Pygame Zero mu-editor is a great IDE for Pygame Zero. See link for more tutorials. Another resource for learning is at pygame-zero And a thorough reference book at pygame-zero-book
Below is an example of Pygame Zero code (Python) for Flappy Bird Notice similarity to the game outline used in the Scratch Tutorials
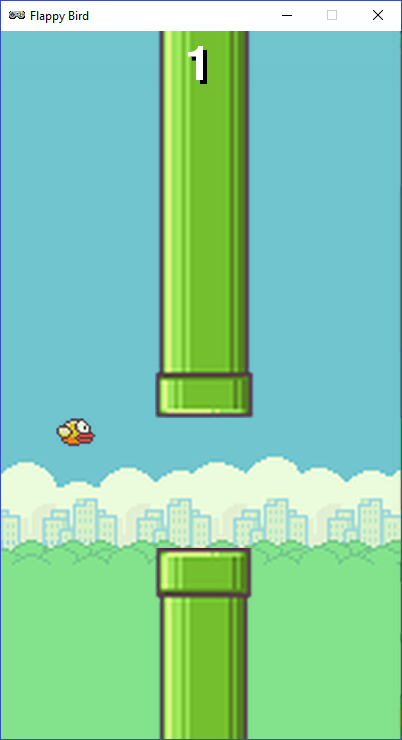
- Import - similar to importing functions from your backpack
- Sprites - img located in your folder
- Initialization Step
- Main game loop
- Functions
- Flappy bird motion control
- Pipe animation
(Code is at bottom of page)
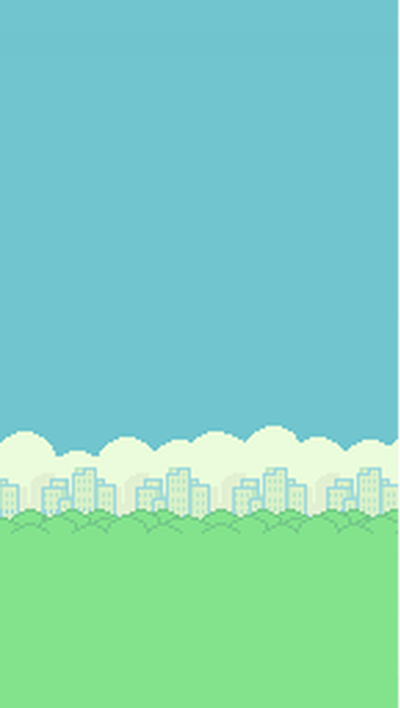
Go to mu-editor for download instructions. Follow tutorial or use the code below with mu-editor in Pygame Zero mode. Click and save the 6 images below in a sub directory of the folder you put your game file. (ie /mu_code/image/flappy_bird ). Make sure image names match what you have in your code.




Coding with Pygame
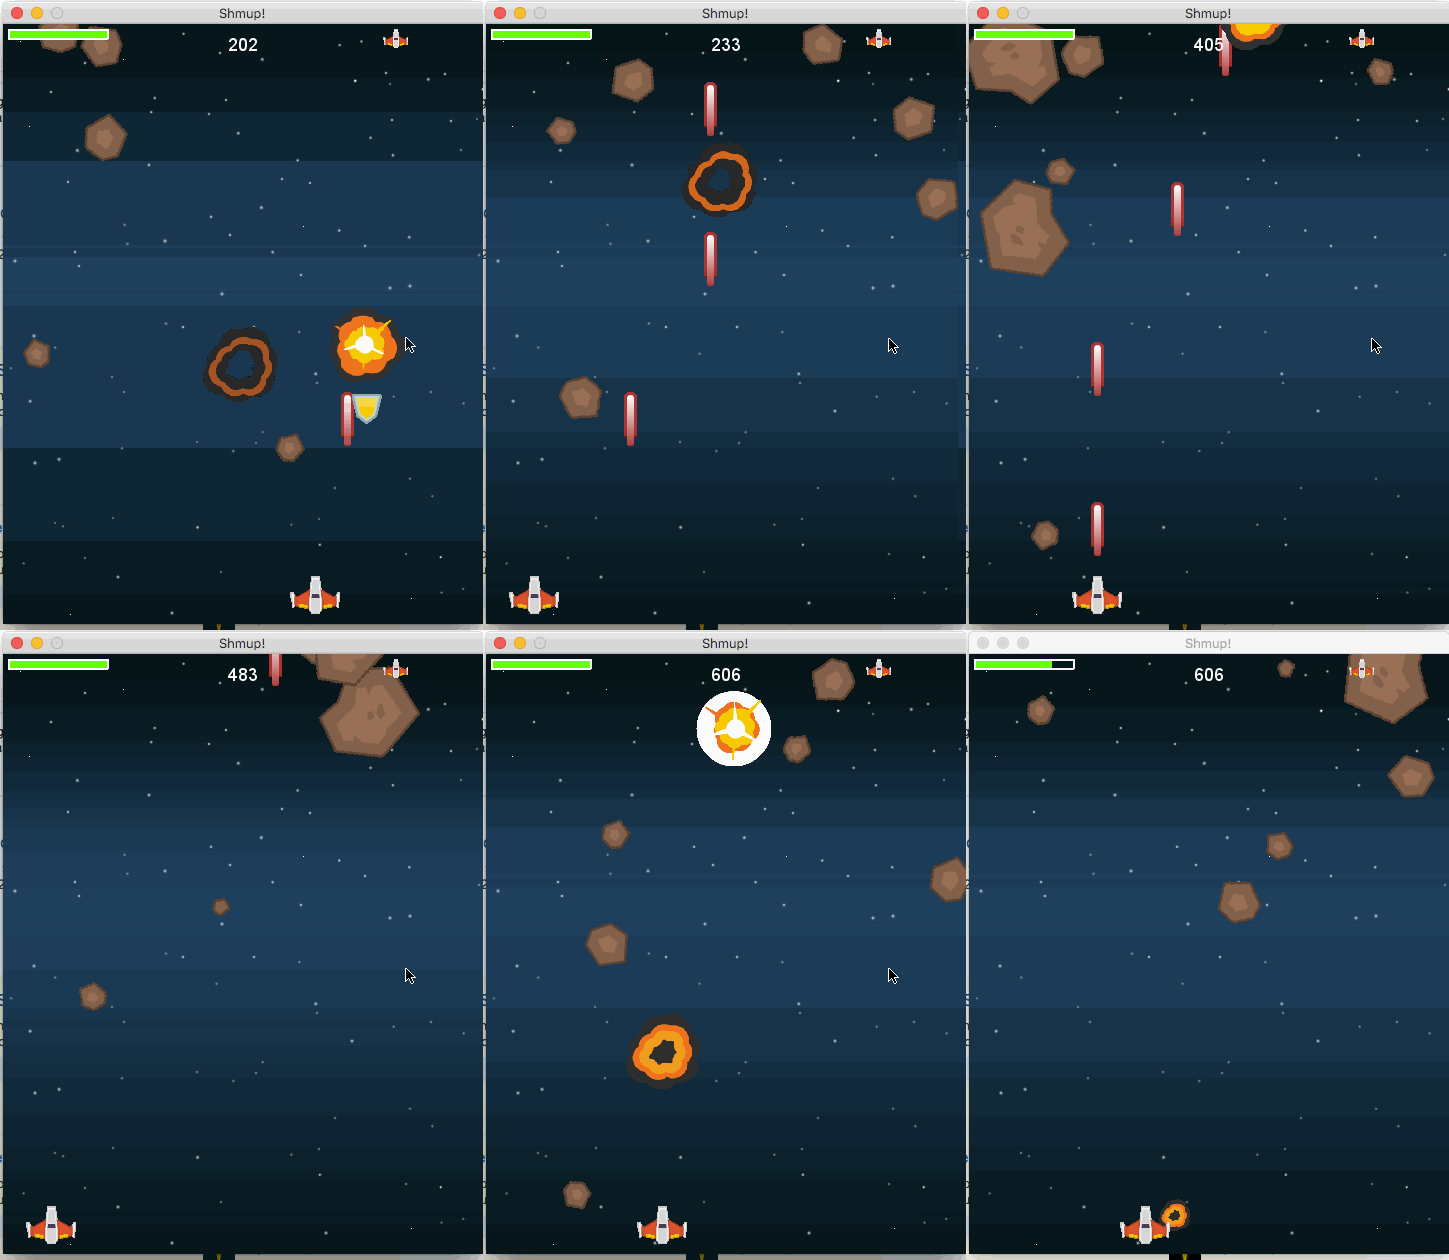
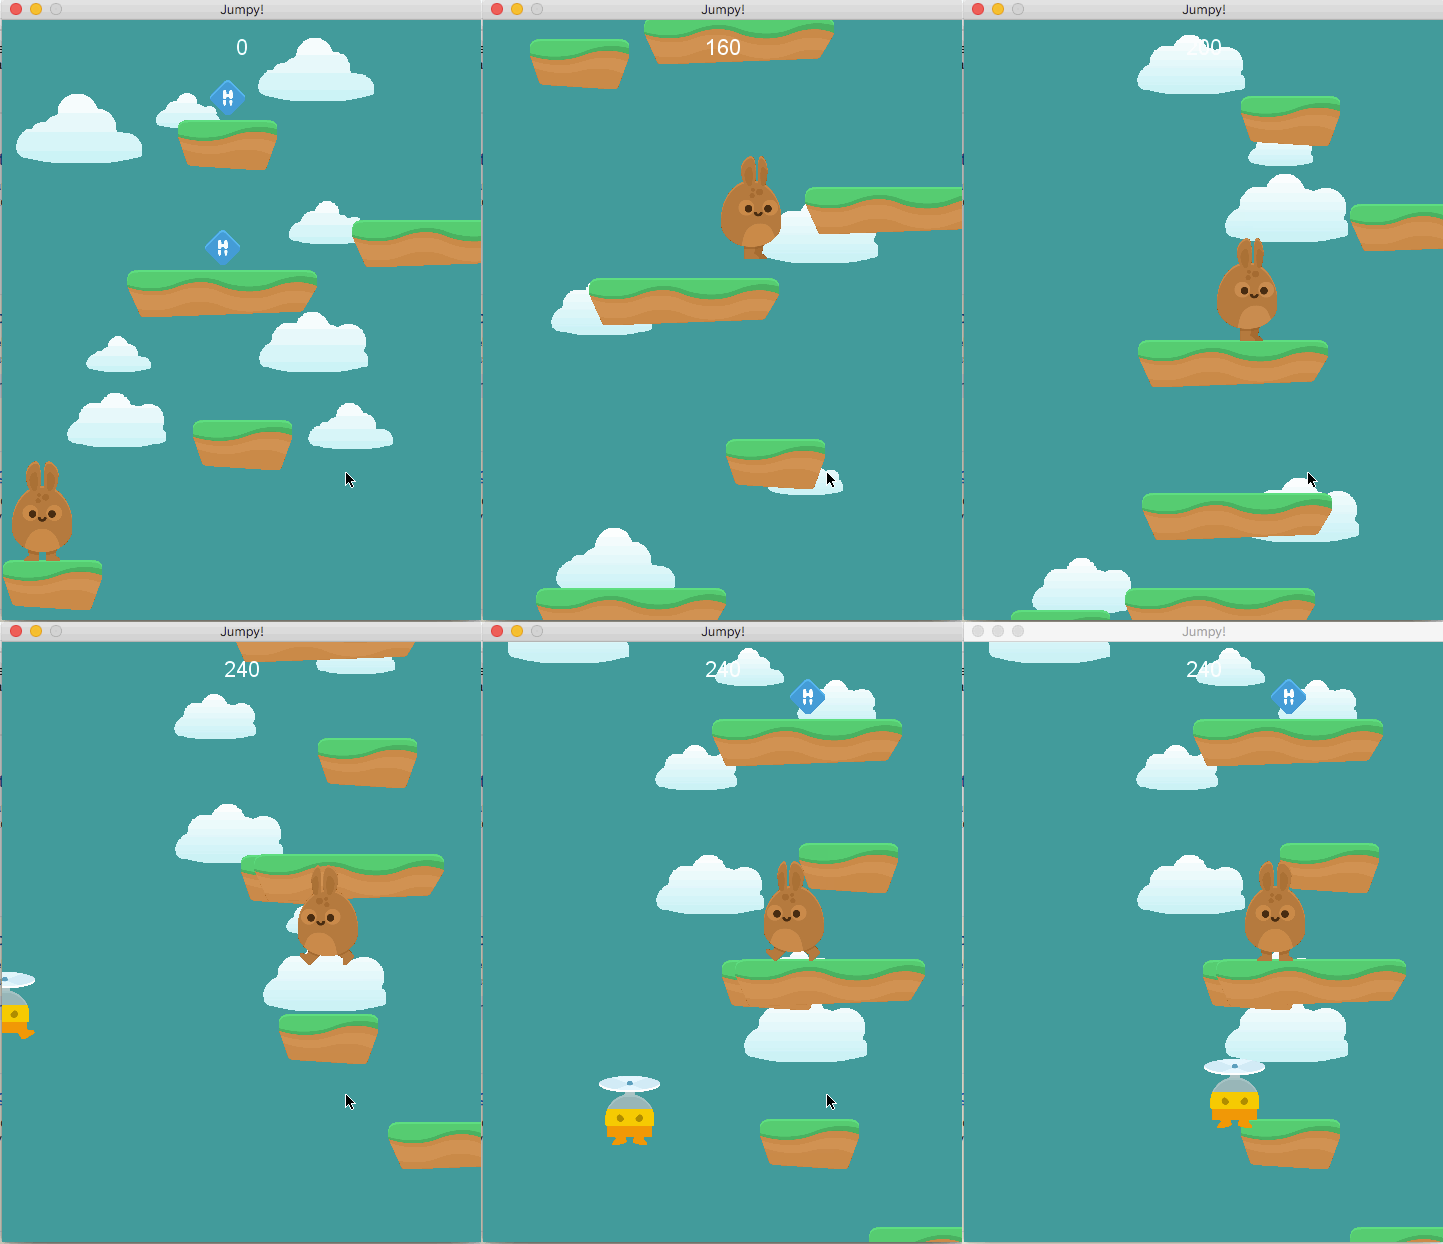
Pygame is a step up in complexity from Pygame Zero. You can use the Object Oriented Programming side of Python to make arcade style games. I had fun following the youtube tutorials by KidsCanCode to create the games below. They also go into the more advanced game engine Godot (similar to Unity). KidsCanCode is a great resource for learning Python and how to make great looking games.
Code for Pygame Zero Flappy Bird
# This is similar to importing functions from your backpack
import random
import time

# Initialization - Setting screen size and variables
WIDTH = 400
HEIGHT = 708
GAP = 150
SPEED = 3
GRAVITY = 0.3
FLAP_VELOCITY = -6.5

# Sprites - links to images in your folder
bird = Actor('flappy_bird/bird1', (75, 200))
pipe_top = Actor('flappy_bird/top', anchor=('left', 'bottom'))
pipe_bottom = Actor('flappy_bird/bottom', anchor=('left', 'top'))

# Main game loop
def update():
    update_pipes() # Animation function drawing pipes
    update_bird()  # Game animation/events for flappy bird

# Initial states for flappy bird sprite
bird.dead = False
bird.vy = 0

# Function that draws the background and sprites to the screen
def draw():
    screen.blit('flappy_bird/background', (0, 0))
    pipe_top.draw()
    pipe_bottom.draw()
    bird.draw()

# Function for flappy bird events
def update_bird():
    bird.vy += GRAVITY
    bird.y += bird.vy
    bird.x = 75
    if not bird.dead:
        if bird.vy < -3:
            bird.image = 'flappy_bird/bird2'
        else:
            bird.image = 'flappy_bird/bird1'
    if bird.colliderect(pipe_top) or bird.colliderect(pipe_bottom):
        bird.dead = True
        bird.image = 'flappy_bird/birddead'
    if not 0 < bird.y < 720:
        bird.y = 200
        bird.dead = False
        bird.vy = 0
        reset_pipes()

# Function for flappy bird motion controller
# Any key press will increase flappy bird Y position
def on_key_down():
    if not bird.dead:
        bird.vy = FLAP_VELOCITY

# Function to create pipes
def reset_pipes():
    pipe_gap_y = random.randint(200, HEIGHT - 200)
    pipe_top.pos = (WIDTH, pipe_gap_y - GAP // 2)
    pipe_bottom.pos = (WIDTH, pipe_gap_y + GAP // 2)

# Function for pipe motion
def update_pipes():
    pipe_top.left -= SPEED
    pipe_bottom.left -= SPEED
    if pipe_top.right < 0:
        reset_pipes()