Intro to attiny85
Attiny85
The attiny85 is useful for simple circuit projects when low power is necessary (< 0.1W). https://www.microchip.com/wwwproducts/en/ATtiny85 It has 6 programmable I/O pins (40mA) along with SPI and I2C. The four pins can be used as digital I/O, 10-bit ADC, or PWM.
Arduino can be used for programming (C++). I had problems connecting with my Linux PC and had to use a Windows 10 PC. The digispark website has trouble shooting steps for Linux.
Attiny85 Types
Types of attiny 85
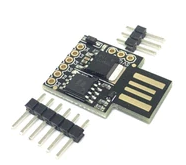
- Built-in USB interface
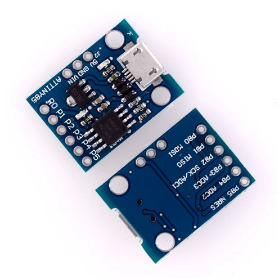
- Built-in micro-USB interface
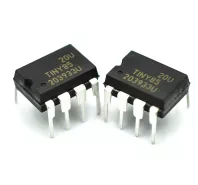
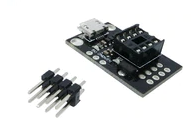
- Smallest is the 8 pin interface that will require extra steps/hardware (development board) for programming. I have only worked with the built-in USB/microUSB versions of attiny85. Once drivers are loaded and some quirks figured out it was fairly simple to program with Arduino.
There is no built-in wifi. This is more for projects where you program it and then let it run its instructions.
Build-in USB Version, Micro USB Version, Bare attiny85, and Development board for bare attiny85


Windows10 Setup
Install Arduino
- Install Arduino
- Likely will need to install digistump drivers DPInst64 is for 64bit systems. In Arduino
- Go to File/Preferences and Additional Boards Manager URL. Add/paste the digistump json package in the fields http://digistump.com/package_digistump_index.json
- (if you had other packages they can be separated with a comma)
- Go to Tools/Board/Boards Manager and install the Digistump AVR Boards
- Now go to Tools and select the Digispark Default 16.5mhz board (You do not need to worry about selecting the port)
Troubleshooting
If your PC has problems seeing the USB attiny85 follow this guide from Brainy-Bits
- Go to device manager
- Select ‘View’, then ‘show hidden devices’
- Find the digispark attiny (mine showed as different labels at different points)
- Right click and manually install the previously downloaded driver
- In my case it didn’t appear to change anything, but when I went back to Arduino and tried to connect it updated and connected successfully.
Programming attiny85
The attiny85 is not programmed like a typical Arduino board.
- Select the blink example (Files/Examples/Basic/Blink)
- Change the LED_BUILTIN to 1 (internal LED is connected to pin 1)
- Click Upload
- It will show a message giving you 60sec to connect the attiny85.
- Now plug the attiny85 into the USB.
- The program should upload and start executing.
Example
// the setup function runs once when you press reset or power the board void setup() {
  // initialize digital pin LED_BUILTIN as an output.
  pinMode(1, OUTPUT);
}

// the loop function runs over and over again forever
void loop() {
  digitalWrite(1, HIGH); // turn the LED on (HIGH is the voltage level)           delay(1000); // wait for a second
  digitalWrite(1, LOW); // turn the LED off by making the voltage LOW   delay(1000); // wait for a second
}